top pic.jpg
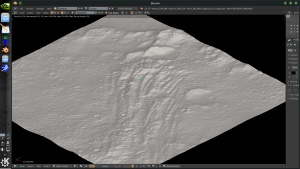
I posted a picture much like this one on my Twitter account and someone asked how I did it. So here we go.
A little background:
I'm using FlashPrint because it came with my 3D printer and Rhinoceros 5.0 because I have it and it's the only 3D modeling/CAD software I've been able to wrap my head around. I downloaded and tried the same procedure with Cura and Blender since they're both freeware and it works. I'm not entirely comfortable with Blender so I wasn't able to get a render that I was personally happy with, but I'm confident it can be done.
On to the step by step stuff:
1.jpg
First, you want to create something in Wilbur. I made this little island and I'm rather fond of it. Click the Save icon and your typical pop up appears and is preset to PNG surface. Huzzah, name the file and hit the Save button. We are now done with Wilbur for this project.
2.jpg
This is a slicer software for turning models into a set of instructions a 3D printer can understand. It also has a helpful feature for saving things as either an .STL or .OBJ which 3D Modeling and CAD software can understand. This is what we're using today. Click the load button (or in other software open a file) and select your PNG surface that you saved from Wilbur.
3.jpg
This is where the magic happens. When you select the PNG surface image, this pop up appears and asks you to decide how big the object is going to be (Width and Depth) and how tall it's going to be (maximum height).
There's two modes to choose from, Lighter is Higher and Darker is Higher. Lighter is higher will produce an object where mountains are mountains. Darker is higher will invert the object so that your left with sort of a cake pan of your mountains.
4.jpg
Hit OK and this is what you get. Note that I shrunk the size down to 70x70 mm later because Rhino was freezing on me at later steps.


 Reply With Quote


