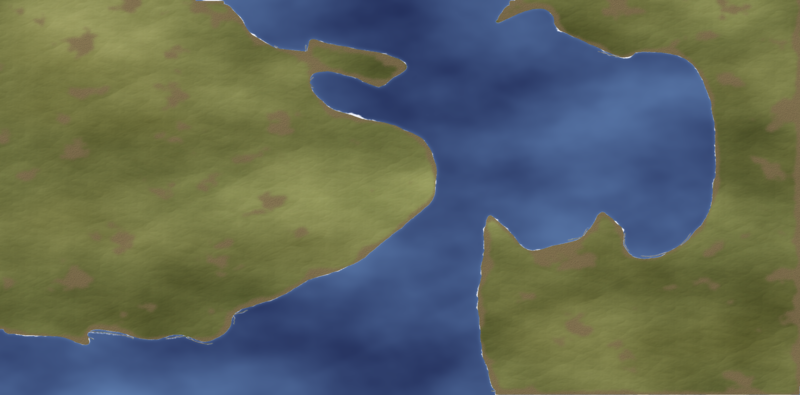
Post 11:Let There be Mountains
The technique for making the mountains is very similar to that of making the land. Because we have an idea for a map, we will start in this case by sketching a blurred representation of where they should be. Otherwise, just use one of the random techniques:
Create a new layer Mountains. Fill in white for the general areas of the mountain ranges, and apply a 50 px (or so) Gaussian blur. It is helpful to keep the original sketch on top with reduced opacity to act as a guide. Dont worry about going in to the sea, because we can we can erase those areas later:
Post11-1.png
Now the noise layer (I used detail 8 and size of

and set the blend mode to multiply. Then add a third layer (remember the TLS) as a clipping layer, and use the levels dialog to bring it down to show the mountains you want Here is the screen showing the three layers
Post11-2.png
Use the magic wand again to select the non-mountain area (like with the land) and create a new layer called Mountains Mask with a white on black. (Also the white colour selection as a new selection mask using
Select->Save to Channel).
Now we want to create a heightfield from this. The easiest way I have found to do this is to copy the current visible image (
Edit->Copy Visible) then paste it (CTRL-V) to a floating selection. Click the New Layer button to get it on its own layer rather than a floating layer. Now stretch the colour range out (
Color->Auto->Normalize):
Post11-3.png
Rename this layer to mountain colour. Make a duplicate and call it mountain bump map. Now set the foreground colour to lowest dirt and the background colour to highest dirt, and on the mountain colour layer, do a
Color->Map->Gradient Map.
Post11-4.png
Normalize the colours (
Colors->Auto->Normalize) and add a layer mask, using the mountain mask channel. (Note, the Dirt layer was turned of in this image by accident).
Post11-5.png


 and set the blend mode to multiply. Then add a third layer (remember the TLS) as a clipping layer, and use the levels dialog to bring it down to show the mountains you want Here is the screen showing the three layers

 Reply With Quote